
You lift the lid expecting damp clothes and find a soaked, heavy pile sitting in standing water. The cycle ran. The machine made noise. Nothing came out wrung. That sinking feeling hits fast, because laundry does not wait, and neither does the worry about what this repair will cost. A Whirlpool washer not spinning is one of the most common laundry complaints, and the cause is often smaller than it feels.
Some no-spin problems come from a setting, a stuffed drum, or a kinked hose behind the machine. Others point to a worn part inside, like a lid switch, a drive belt, or a drain pump that stopped moving water. Knowing which group your washer falls into changes everything: one costs you five minutes, the other costs a service call.
Keep reading to learn the safe checks you can do right now, the internal parts that stop the spin cycle, what repairs tend to cost, and how coverage works for the breakdown after this one.
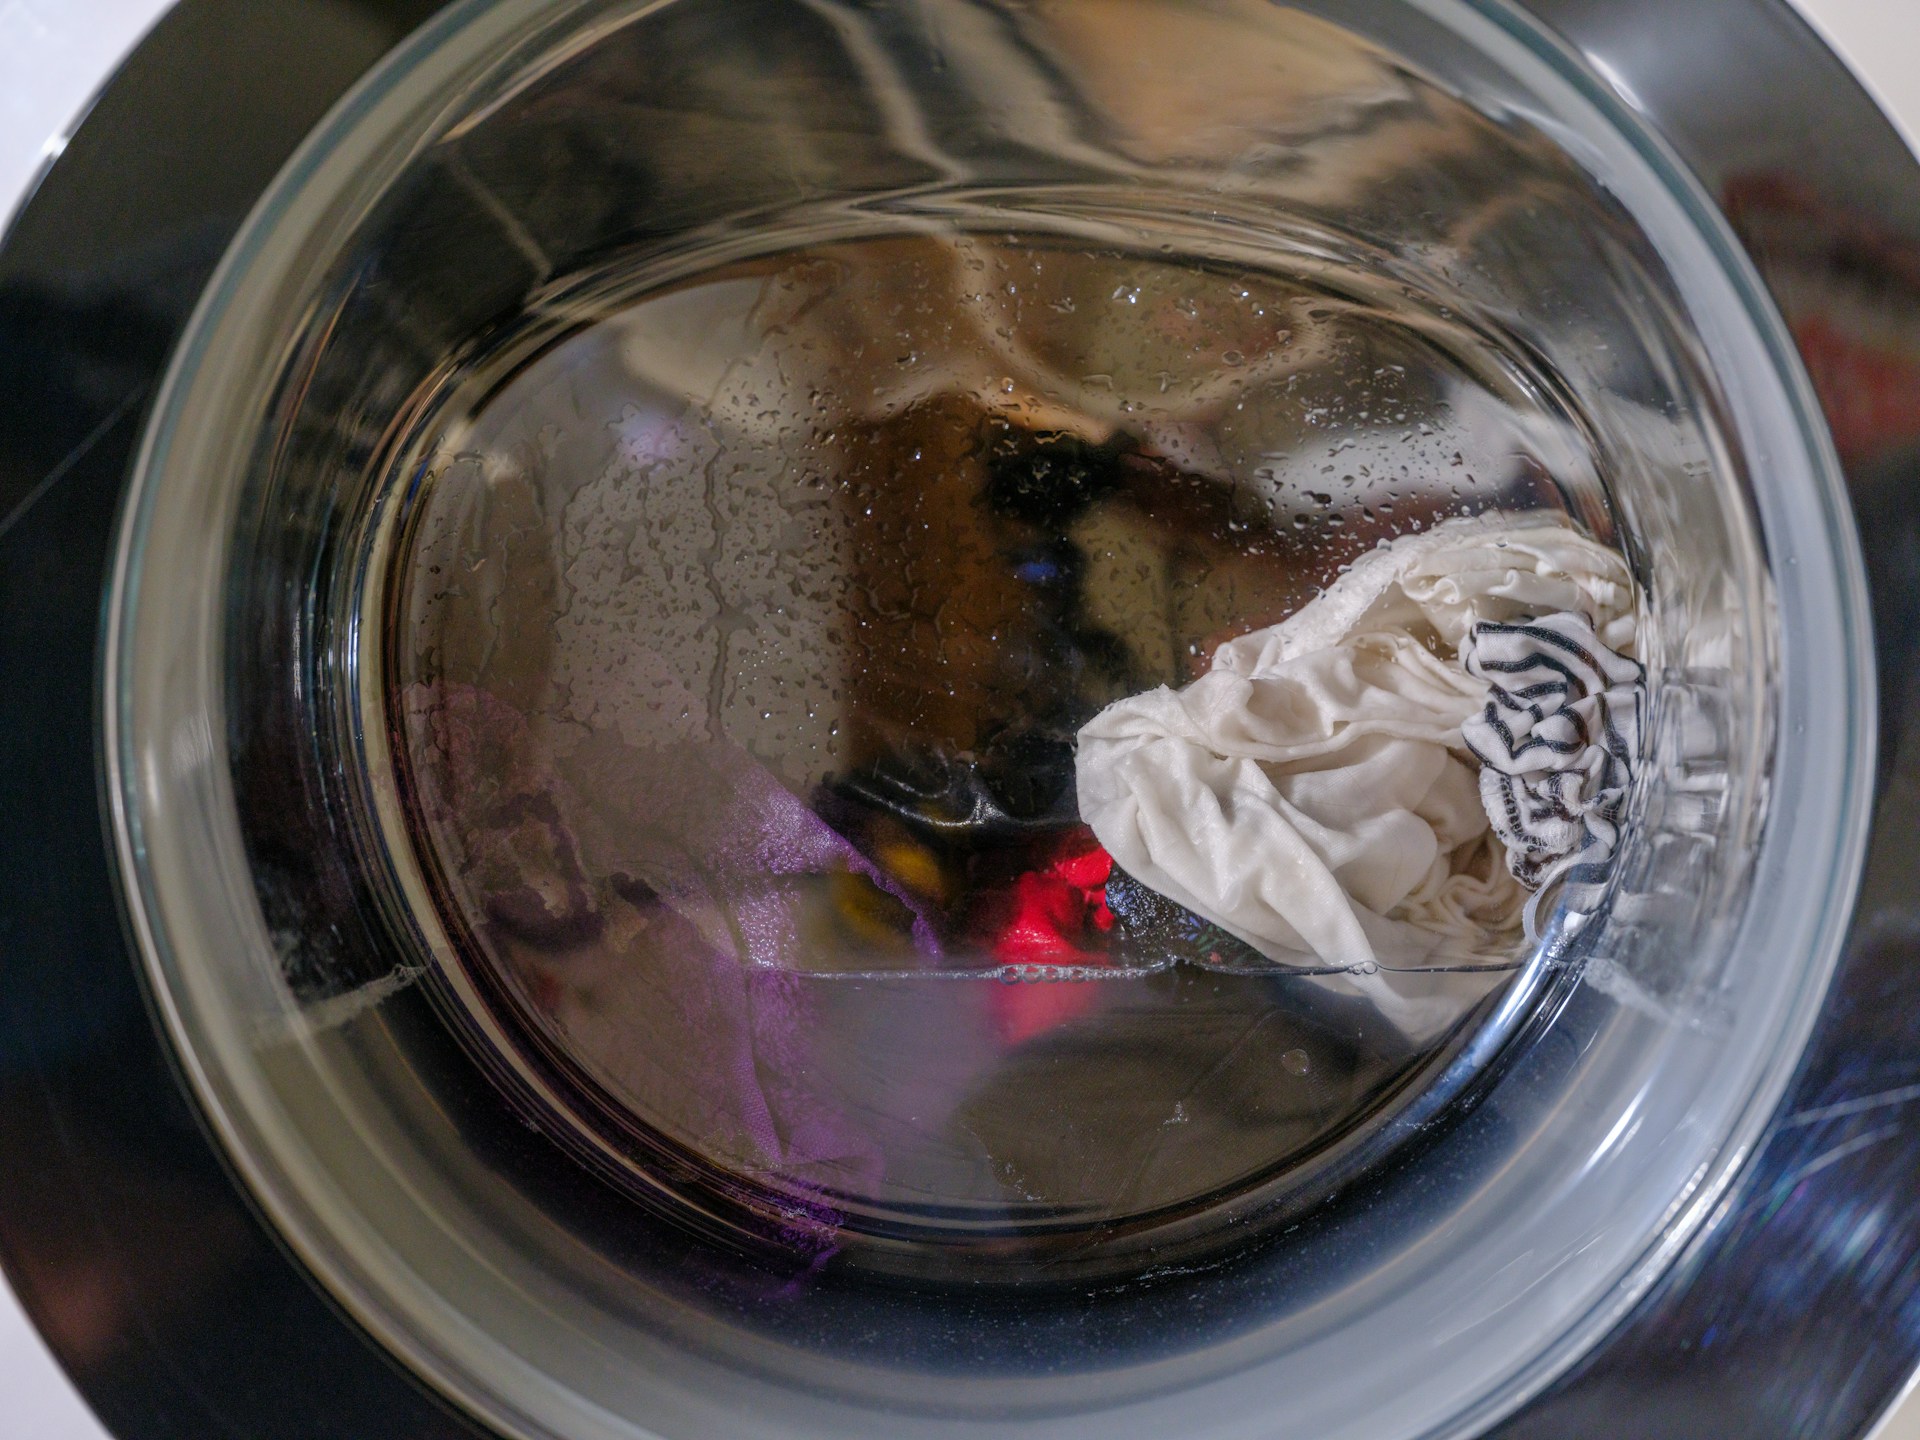
Start With These Safe Checks Before Calling for Repair
Before you pay anyone, run through four quick checks: load balance, cycle setting, machine level, and power. These solve a large share of no-spin calls and take under ten minutes.
Why Is My Whirlpool Washer Not Spinning?
A washer refuses to spin for one of two reasons. Either it decided spinning was unsafe, or a part that drives the drum stopped working.
Whirlpool's own guidance points to a short list of everyday culprits: an open lid or door, an unbalanced load, a low spin speed setting, or excess suds blocking the pump. Signs of an unbalanced load washer include loud noises, hard shaking, and wet clothes at cycle end, as Whirlpool's spin troubleshooting page explains.
Work through the simple stuff first. If the washer spins normally after a quick fix, you just saved yourself a repair bill.
Redistribute an Unbalanced or Overloaded Load
Open the lid and spread the wet clothes evenly around the washer drum. One heavy item, like a comforter or bath mat, thrown in alone will throw the drum off balance during spin.
An overloaded washer causes the opposite problem. Packed clothes cannot move, so the machine slows the spin speed or stops it to protect itself. Pull out a third of the load and run a Drain and Spin cycle.
Your washer may also try to fix this on its own. It refills, rocks the basket gently, and tries again. If it still cannot even out the load, it stops and shows an error.
Check the Cycle Setting and Spin Speed
Look at which cycle is selected. Delicate, Hand Wash, and Gentle cycles use slow spins by design, so clothes come out wetter than you expect.
If someone in the house picked Low Spin or No Spin, the machine is doing exactly what it was told. Switch to a cycle with a higher spin speed, like Heavy Duty, and run it again. Bedding and bulky items belong on the Bulky or Sheets cycle, not Normal.
One more setting trips people up: pausing mid cycle to add a garment. Pausing late in the cycle can limit the washer's top spin speed.
Confirm the Washer Is Level and Has Power
Push down on each corner of the machine. If it rocks, it is not level, and an unlevel washer shakes, vibrates, and struggles to reach full spin. Adjust the leveling feet until all four sit firm on the floor.
The suspension system inside a top load washer also absorbs drum motion. Worn suspension rods let the basket swing too far, which the machine reads as an imbalance.
Power matters too. If the electricity cut out mid cycle, your washer may never ramp up to full spin speed. Run Drain and Spin once power returns.
If the basics check out and the drum still will not turn, the problem sits inside the cabinet.
What Is Preventing the Washer From Entering the Spin Cycle?
When settings and load balance are fine, a failed part is blocking the spin cycle. Five components cause most of these breakdowns, and each one leaves a different clue.
A Faulty Lid Switch or Door Lock
The lid switch is a safety part that stops the drum from spinning while the lid is open. When it fails, the washer believes the lid is open and refuses to spin, even with the lid shut tight.
This is one of the most common no-spin causes in top-load Whirlpool washers. On front load models, the door lock does the same job.
Listen for a click when you close the lid. No click often means a bad switch or a broken plastic strike tab.
A Clogged Drain Hose, Drainpipe, or Drain Pump
Standing water in the tub is a drainage problem, not a spin problem. Most washers will not spin until the water is gone.
Start behind the machine. Straighten any kink in the drain hose, and clear blockages in the hose, the drainpipe, or the utility sink. The standpipe height has limits: 96 inches maximum and 30 inches minimum, per Whirlpool's drain troubleshooting guide. Too tall, and water flows back into the washer.
If the hose is clear, the drain pump may be jammed. Socks, coins, and hairpins get stuck in the impeller. Front load models have an accessible pump filter you can clean.
A Worn Drive Belt or Broken Motor Coupling
Many Whirlpool top load washers use a rubber drive belt between the motor and the transmission. Belts stretch, crack, and eventually snap. When that happens, the motor runs but the drum sits still.
Direct-drive models use a motor coupling instead. That small plastic part is built to break first when the washer is overloaded, protecting the motor and transmission from damage.
The clue is the same for both: you hear the motor humming, but nothing turns.
Problems With the Shift Actuator, Splutch, or Clutch Assembly
Newer Whirlpool washers use a shift actuator to switch the machine between agitating and spinning. When it fails, the drum agitates but never engages spin.
Older models with a transmission use a clutch assembly, sometimes called a splutch on certain designs. The clutch pads wear down over years of use. Worn pads mean the basket never reaches full spin speed.
A grinding or scraping noise during the spin cycle points at this group of parts.
When the Drive Motor, Transmission, or Control Board Fails
These are the expensive failures. A faulty drive motor will not turn the drum at all, and a failed transmission stops power from reaching the basket.
A bad control board is trickier. The washer may fill, agitate, and drain normally, then skip the spin step with no error at all.
Each of these repairs runs into real money, which raises the question of what you should attempt yourself.
When Can You Troubleshoot It Yourself, and When Should You Stop?
You can safely clean, inspect, and re-level your washer. Stop at the point where a repair requires opening the cabinet, testing live circuits, or handling the motor.
Safe Cleaning and Inspection Steps for Homeowners
Unplug the machine before you touch anything beyond the control panel. That single step prevents most laundry room injuries.
Here is what falls comfortably within homeowner territory:
- Straightening or replacing a kinked drain hose
- Cleaning the drain pump filter on front load models
- Checking that only about 4.5 inches of drain hose sits inside the standpipe
- Adjusting leveling feet until the machine stops rocking
- Running a Drain and Spin cycle to clear standing water
- Redistributing or reducing the load size
Keep towels and a shallow pan nearby. Any hose you disconnect will hold water.
Why Too Many Suds Can Cause Washer Spin Cycle Problems
Too much detergent creates thick suds that the pump cannot push through. The washer reads water still in the tub and cancels the spin.
High Efficiency (HE) washers need HE detergent, which is formulated to produce fewer suds. Regular detergent in an HE machine causes the exact problem you are troubleshooting. Measure every time and follow the label.
To clear a sudsy tub, run a rinse and spin cycle with no detergent at all. It may take two passes before the foam is gone.
Why Electrical Testing and Internal Repairs Need Appliance Repair
Testing a lid switch or pump motor for continuity takes a multimeter and knowledge of which terminals to probe. Guessing here risks shock and a wrong diagnosis.
Belt, coupling, clutch, and transmission work means removing the cabinet, draining residual water, and lifting heavy components. One misrouted wire or unseated belt turns a small repair into a bigger one.
Appliance repair professionals also carry the right replacement parts for your model number. That alone saves days of waiting.
Once you know a professional is coming, the next question is what the visit will cost.
What Does Washing Machine Repair Cost?
Washing machine repair cost depends entirely on which part failed. A lid switch swap sits at the low end, and a transmission or control board replacement sits at the high end.
Typical National Costs for Common Whirlpool Washer Repairs
Most washer repairs cost $100 to $400 nationally, based on average washer repair costs compiled by HomeGuide. Many companies also charge a minimum service fee of about $70 to $130, and some apply it toward the repair.
For the parts covered in this article, national ranges including parts and labor are $100 to $300 for a lid switch, $100 to $200 for a drive belt, and $100 to $250 for a motor coupling. A drain pump runs $150 to $350, and a clutch $200 to $300.
The bigger jobs cost more. Transmission work runs $200 to $600, a control board $350 to $550, and a motor replacement $300 to $700. These are national figures, so a Las Vegas quote can land above or below them.
How Las Vegas Appliance Repair Estimates Compare
Local pricing varies by company, by model, and by how quickly you need the technician. Ask for the diagnostic fee up front and whether it applies toward the repair.
Two questions save real money on the call. First, ask whether the quote includes parts and labor together. Second, ask if the shop guarantees the workmanship, and for how long.
Get the model and serial number off the sticker inside the lid before you call. It speeds up parts availability and gives you a firmer quote.
When Repairing the Washer Makes More Sense Than Replacing It
Age is the deciding factor. A washing machine lasts about 8 to 13 years on average, according to the same cost guide, so a machine near the top of that range is a weaker candidate for a costly repair.
A reasonable rule: if the repair costs less than half the price of a comparable new washer, and your machine is under eight years old, fix it. A transmission replacement on a twelve-year-old washer rarely pays off.
Repeat failures also tell you something. Two significant repairs in one year usually means the machine is past its useful life.
Planning for the next breakdown is where coverage changes the math.
How Home Warranty Washer Coverage Can Help With Future Breakdowns
A home warranty plan is built for exactly this situation: a covered appliance stops working from normal wear and tear, and you need a qualified technician without hunting for one. Coverage applies to eligible breakdowns, subject to your plan's service call fee, coverage limits, and exclusions.
What Eligible Wear-and-Tear Coverage May Include
Clothes washers appear in the appliance coverage offered on select plan levels, alongside dryers, dishwashers, ranges, ovens, and kitchen refrigerators. The specific items covered depend on which tier you select.
Coverage handles breakdowns caused by everyday use, not damage from misuse, accidents, or events your homeowners insurance addresses. Your service contract spells out the limits and exclusions in writing. Compare the Essential, Enhanced, and Premium home warranty plans to see how appliance coverage differs by tier, and review the appliance coverage details for washers and dryers specifically.
Plans also extend to home systems like HVAC, plumbing, and electrical, which is where most homeowners feel the biggest financial relief.
What to Do if You Already Have a Dwellness Plan
File a claim right away. Do not schedule an outside repair first, because work you arrange on your own may not qualify for reimbursement.
The process is short. Submit your washer service request, pay the trade call fee through the secure link you receive, and the claim gets dispatched to a vetted provider. Your assigned technician contacts you within two to three hours to set the appointment.
Existing customers can also call (702) 641-8888 to start a claim by phone. Dwellness approves more than 97% of customer claims, and more than 85% are resolved on the first visit.
How to Review Plan Terms Before a Future Washer Repair
Read the appliance section of your service contract before something breaks. Look for three things: which appliances are named, what the coverage limit is per item, and what the listed exclusions say.
Check when coverage becomes active too. Plans purchased directly generally have an initial waiting period before coverage starts, so a plan purchased today will not pay for a washer that already stopped spinning.
Plan changes can be made for up to 30 days after your initial payment, and coverage can be adjusted each year. If you are unsure what your plan includes, ask your local account manager to walk you through it.
Protect Your Laundry Routine From the Next Unexpected Breakdown
Most cases of a washer not spinning trace back to something small: an unbalanced load, a slow spin setting, a kinked drain hose, or a lid switch that quit. Check those first, because they cost nothing to rule out.
When the fix requires opening the cabinet or testing electrical parts, hand it to a professional. The washing machine repair cost is easier to accept when you know which part failed and whether your machine is young enough to be worth fixing.
For the next breakdown, a plan changes what that phone call feels like. Get your free home warranty quote and see what a Las Vegas home warranty covers, or call (702) 509-7007 to talk with a local expert about which tier fits your home.