
You open the dryer door after a full cycle and everything inside is still damp. The drum spun. The machine hummed along like normal. But the clothes feel cool and heavy, and now you are staring at a pile of wet laundry and wondering what this is going to cost. A clothes dryer with no heat is one of the most common appliance complaints in any household, and it is rarely random.
When a dryer tumbles but stops producing heat, the cause usually falls into a short list: a setting that bypasses heat, a tripped breaker on one leg of the power supply, a blown thermal fuse, a failed heating element, or a vent so packed with lint that the dryer shuts its own heat off to protect itself. Some of those you can check in five minutes. Others require opening the machine, which is where a homeowner should stop.
Keep reading to learn how to work through each cause in order, from the checks you can safely do yourself to the signs that mean you should unplug the machine and call an appliance repair pro. You will also find current repair cost ranges so you can decide whether fixing the dryer makes sense or whether replacement is the smarter move.
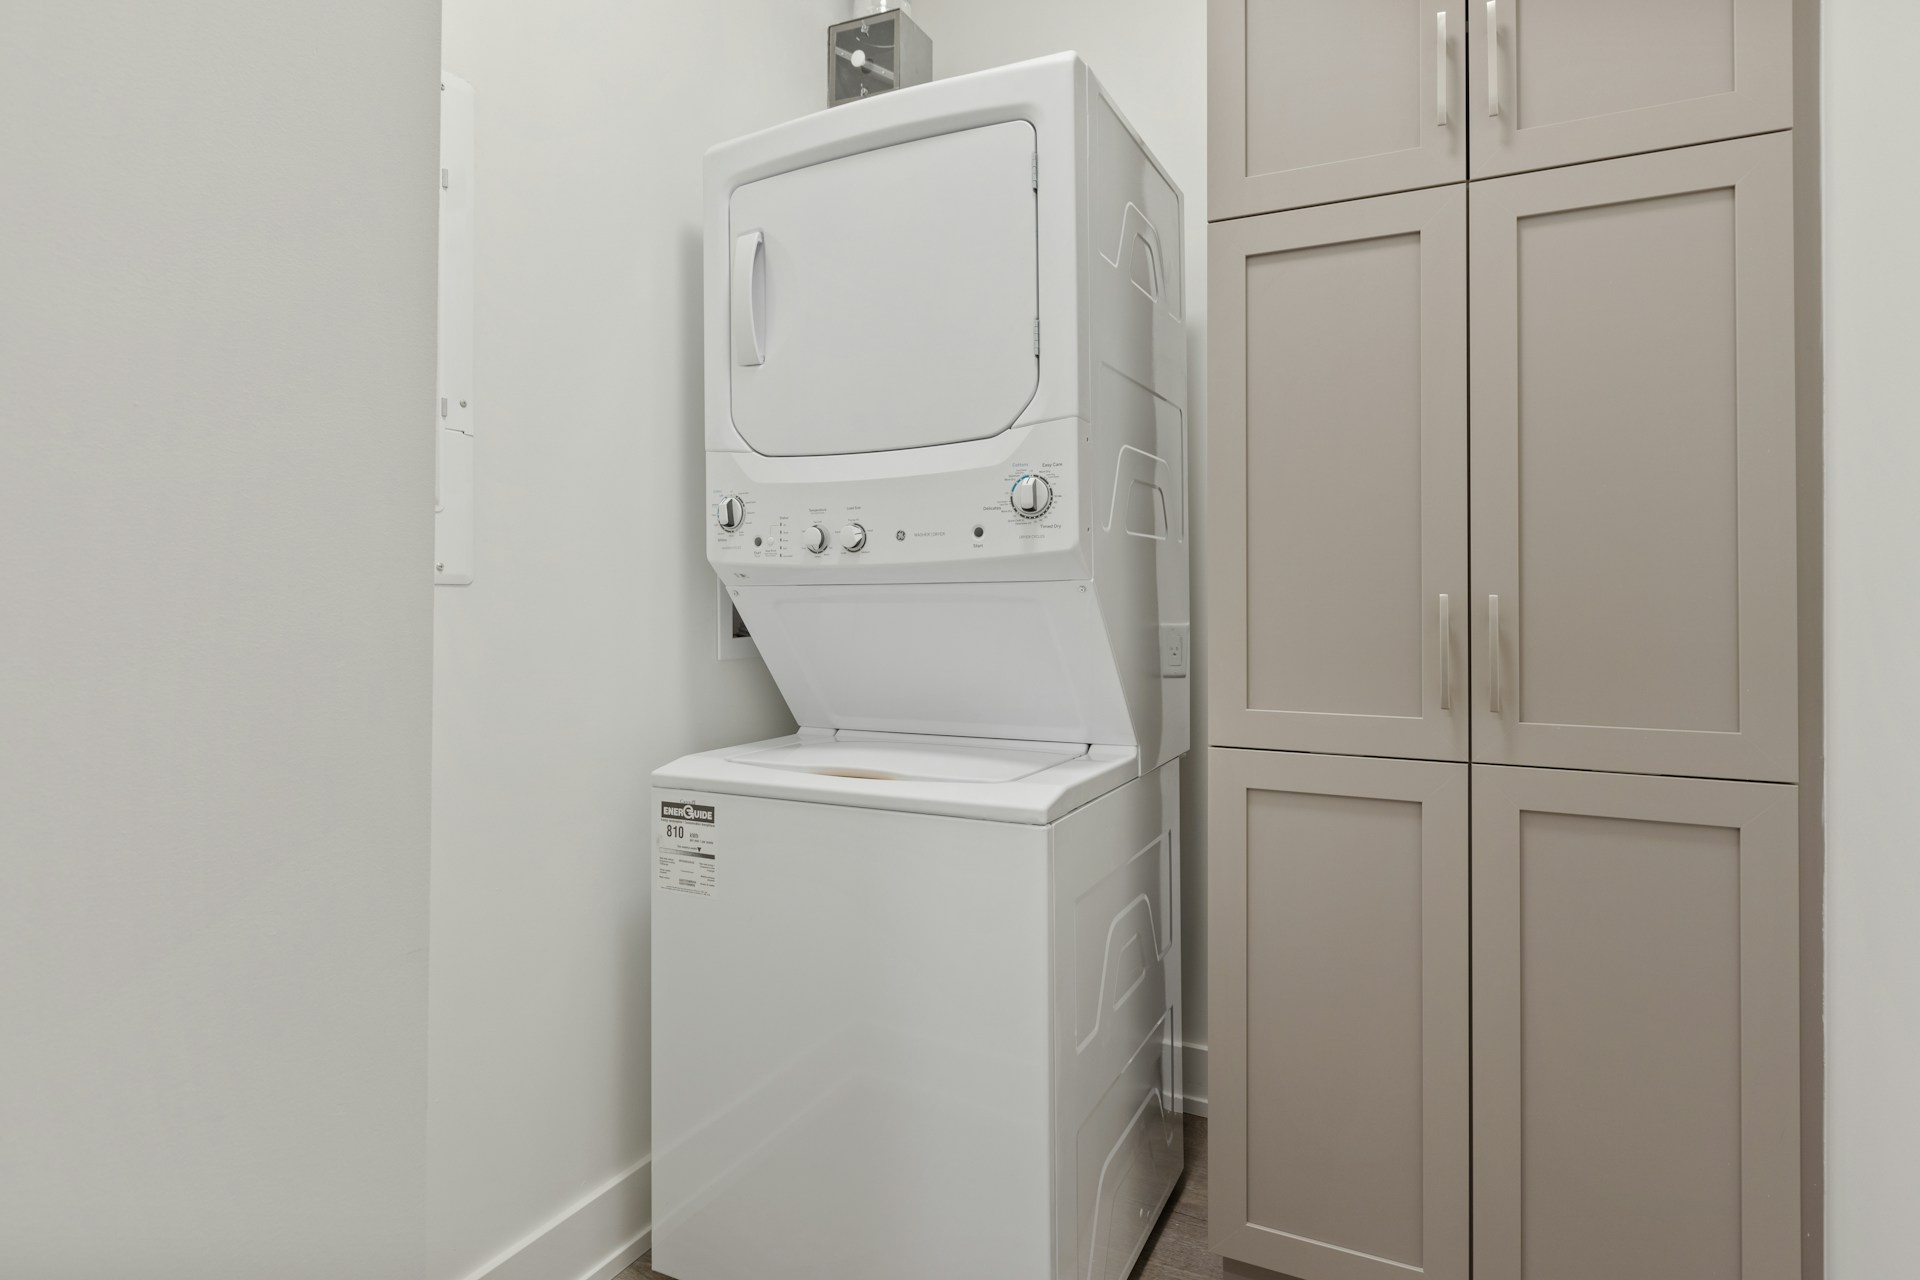
Rule Out Simple Drying Problems First
Before you assume a part failed, confirm the dryer is being asked to heat at all. A surprising number of "no heat" calls trace back to a cycle setting, a clogged lint screen, or a load that is too big for the drum.
These checks cost nothing and take a few minutes. Work through them in order before you spend money on a service call. If the dryer heats normally after one of these fixes, you just saved yourself a repair bill.
Check the Cycle Setting and Moisture Sensor
Air fluff, air dry, and delicate cycles run the drum with little or no heat by design. If someone changed the dial or the cycle button got bumped, the dryer is doing exactly what it was told. Switch to a normal or timed dry cycle on medium or high heat and run a short test load.
The moisture sensor is the other quiet culprit. Most modern dryers use metal strips inside the drum to read how wet the clothes are, then end the cycle when they read dry. Fabric softener residue can coat those strips and fool the sensor into stopping early.
Wipe the sensor bars with a cloth and rubbing alcohol. Then run a timed dry cycle instead of an automatic one. If timed dry produces heat and automatic does not, the sensor is the problem rather than the heating system.
Clean the Lint Filter, Lint Screen, and Lint Tray
Pull the lint filter out and look at it in good light. A visible mat of lint blocks airflow, and blocked airflow makes a dryer run hot inside, dry slowly, and eventually trip its own safety devices. Clean the screen before and after each load, which is also the first tip in the U.S. Fire Administration's clothes dryer fire safety guidance.
Lint buildup is not always visible. Dryer sheets leave an invisible film on the screen mesh that water will not pass through. Run water over the screen: if it beads up and sits there, the mesh is sealed.
Wash the screen with soap, warm water, and a soft brush, then let it dry fully before putting it back. Whirlpool recommends cleaning the lint screen this way every six months. Also vacuum out the lint trap housing below the screen, where a surprising amount collects.
Avoid Overloading the Dryer Drum
Hot air has to move around the clothes to dry them. A packed dryer drum leaves no room for that air to circulate, so the load tumbles in a damp clump and the machine strains to keep up.
Fill the drum no more than about three quarters full. Heavy items like comforters, bath towels, and jeans need even more space than that. If you pull a load out and some pieces are dry while others are soaked, the load was too big.
Soaking wet clothes cause the same symptom. If your washer did not spin the water out, the dryer is fighting far more moisture than it was built to handle. Run the load through another spin cycle first.
If the dryer still runs cold after all of this, the problem is in the power or fuel supply.
Why a Clothes Dryer Has No Heat but Still Runs
A dryer that tumbles but never warms up almost always has power reaching the motor and nothing reaching the heat source. Electric and gas dryers each have a specific reason this happens.
Understanding that split narrows the search fast. On an electric dryer, the motor and the heating element run on separate legs of the same 240-volt circuit. On a gas dryer, the motor runs on standard household power while the heat comes from a burner fed by a gas line.
Reset a Tripped Circuit Breaker on an Electric Dryer
Electric dryers run on a 30 amp circuit protected by two breakers, or one double breaker. One side powers the motor and the drum light. The other powers the heating element.
That is why half the dryer can work while the other half does nothing. If the heat side trips, the drum spins and the clothes stay cold. Go to your electrical panel and look for a breaker that sits slightly out of line with the others.
To reset it properly, unplug the dryer first. Push the breaker fully to the off position, then back to on. Plug the dryer back in and run a test cycle.
If that breaker trips again within a load or two, stop resetting it. A repeating trip points to a fault in the appliance or the circuit, and that needs a licensed electrician.
Confirm Power at the 240V Outlet
An electric dryer needs a full 240-volt supply to heat. If the outlet is delivering less, the motor will still run on the lower voltage while the element sits dead.
This check requires a multimeter and comfort working near live power. Most homeowners should not attempt it. A qualified electrician or appliance tech can read the outlet in a few minutes and tell you whether the problem is in the wall or in the machine.
Damaged or loose power cords cause the same symptom. Look at the cord where it meets the dryer for scorch marks, melted insulation, or a burnt smell. Those are signs to unplug the machine and stop there.
Check the Gas Supply and Gas Valve on a Gas Dryer
On a gas dryer, a closed shutoff valve produces exactly this symptom: the drum turns and no heat arrives. The valve handle sits on the supply line behind the machine.
When the handle runs parallel to the gas pipe, the valve is open. When it sits crosswise to the pipe, it is closed. Turning it parallel restores gas flow.
Also confirm other gas appliances in the home are working. If your gas water heater or range is also out, the issue is the gas supply to the house, not the dryer.
Never light a burner manually or take apart a gas valve assembly. If the valve is open, the gas supply is fine, and the dryer still runs cold, an internal part has failed.
When a Heating Part Has Failed
Once settings, airflow, power, and gas check out, the failure is inside the machine. Four parts account for most of these repairs: the thermal fuse, the heating element, the thermostat or thermistor, and the control board.
Heating problems sit at the higher end of dryer repair. Angi puts dryer repair costs for a unit that is not heating at $80 to $420 nationally, with a bad heating element, thermostat, or blown thermal fuse listed as the usual causes.
What a Blown Thermal Fuse Means
A thermal fuse is a one-time safety device. When temperatures inside the dryer climb past a safe limit, the fuse breaks the circuit and kills the heat permanently. It does not reset itself.
Dryers are required to have one specifically to prevent fires. On most models, a blown thermal fuse stops the heat while the drum keeps spinning, which matches the symptom you are chasing.
The fuse itself is cheap, in the range of $5 to $18 for the part nationally. The important part is why it blew. A thermal fuse almost never fails on its own: it blows because the dryer overheated, and the most common reason for that is restricted airflow in the vent.
Replacing the fuse without clearing the vent means the new fuse blows too. A thermal cutoff fuse and high-limit thermostat often sit near the same heat source and fail for the same reason.
Why a Burnt Heating Element Stops the Dryer From Heating
An electric dryer heats air with a coiled wire element inside a metal housing. Over years of heating and cooling, that coil weakens and eventually breaks. A broken coil cannot complete the circuit, so no heat is produced.
You can sometimes see the break by looking into the element housing with a flashlight, though many failures are not visible. A technician confirms it with a continuity test, which checks whether electricity can pass through the coil.
A dryer heating element fix means replacing the whole element assembly. This requires removing panels, disconnecting wiring, and sometimes sliding out the drum. Gas dryers use a burner assembly with an igniter and flame sensor instead, and those parts fail in similar ways.
When a Faulty Thermostat, Thermistor, or Control Board Is the Cause
Thermostats and thermistors tell the dryer how hot the air is. When one fails, the dryer either never turns the heat on or shuts it off too early. Thermostat parts run about $15 to $60 nationally.
The control board is the expensive scenario. A failed heater relay on the main control board can cut power to the element even when every other part is healthy. Control boards cost roughly $90 to $280 for the part alone.
On a newer machine, that is a real decision point. The most expensive part of a dryer is the control board, and on some models it can be worth more than half the price of a new unit before labor is added.
Why Internal Testing and Repairs Usually Need a Professional
Testing these parts means opening a machine that carries 240 volts and, on gas models, an active fuel line. Both Whirlpool and most manufacturers recommend calling a professional once the fix requires disassembly.
Labor is the bigger share of the bill. A service call fee runs about $50 to $80 nationally, with hourly labor of $50 to $100 on top of that. Labor often accounts for 90 percent or more of a dryer repair total.
There is also a diagnosis risk. Swapping in a new heating element when the real fault is the control board wastes both the part and your time. A technician tests each component in sequence and finds the actual break.
One point deserves repeating: if a thermal fuse blew, something made the dryer overheat, and that cause is usually sitting in the vent line.
Clear Restricted Airflow Before It Becomes a Fire Hazard
A blocked dryer vent is the single most common reason a dryer overheats, trips its thermal fuse, and stops heating. It is also a fire risk, which makes it the one problem you should never postpone.
Lint escapes past the filter on every load and settles inside the vent hose and duct run. Over time that layer thickens until hot, moist air cannot escape the house.
How to Spot a Clogged Dryer Vent or Vent Hose
Go outside while the dryer is running and put your hand near the exterior vent hood. You should feel a strong, warm stream of air and see the vent flap pushed open. Weak airflow or a flap that stays shut means a blockage.
Other signs show up indoors:
- Clothes take two or three cycles to dry
- The outside of the dryer feels unusually hot to the touch
- The laundry room smells hot or slightly burnt during a cycle
- Lint collects around the dryer door seal
Pull the dryer away from the wall and look at the vent hose. A crushed hose behind the machine restricts airflow just as much as a clogged one, and it is common when a dryer gets pushed tight against the wall. If the duct is vinyl or foil, replace it with rigid or semi-rigid metal.
When Dryer Vent Cleaning Is the Right Next Step
Clean the full vent run from the back of the dryer to the exterior hood at least every one to two years, and more often if you do heavy laundry. Households with pets or long duct runs need it yearly.
Short, straight vent runs are manageable with a brush kit from a hardware store. Long runs, roof terminations, or ducts with several elbows need a professional with a rotary brush and vacuum.
Budget for it separately from the repair. Dryer vent repair runs about $150 to $300 nationally, while fixing a damaged vent alone costs roughly $75 to $150.
Stop Using the Dryer for Gas Smells, Burnt Wiring, or Excess Heat
Some symptoms mean you stop troubleshooting and shut the machine down. Turn off the dryer and do not restart it if you notice any of these:
- The smell of gas near a gas dryer, even faintly
- A burning or electrical smell during a cycle
- Scorch marks, melted plastic, or discolored wiring at the cord or outlet
- A cabinet so hot you cannot keep your hand on it
- Sparks or popping sounds from the machine
If you smell gas, leave the area, do not flip any switches, and call your gas utility from outside. Gas appliances that burn improperly can produce carbon monoxide, an odorless and colorless gas, and the Environmental Protection Agency recommends carbon monoxide alarms on every level of the home.
Angi lists sparks or smells as the most expensive dryer problem to address, at $400 to $600, and often a sign the unit needs full replacement. Once you know what kind of repair you are facing, the next question is whether it is worth paying for.
Dryer Repair Costs and Future Home Warranty Coverage
The national average for dryer repair is $180, with most homeowners paying between $100 and $430. Heating problems sit above that midpoint because they involve more parts and more labor.
Those numbers give you a rough target. Anything quoted far above that range deserves a second opinion or a look at replacement.
National Dryer Repair Cost Ranges vs. Cited Las Vegas Estimates
Here is how common dryer issues break down nationally:
- Not heating: $80 to $420
- Shuts off too quickly: $25 to $300
- Overheating: $90 to $320
- Sparks or smells: $400 to $600
- Dryer vent repair: $150 to $300
Parts are a small slice of most of those totals. A thermal fuse costs $5 to $18 and a thermostat $15 to $60, while the labor to reach and replace them drives the bill.
Is a Dryer Heating Repair Worth It or Is Replacement Smarter?
Compare the repair quote to the dryer's age and what you paid for it. Angi puts the average dryer lifespan at 10 to 15 years, depending on quality, use, and maintenance.
A $150 thermal fuse and vent cleaning on a six year old machine is easy math. A $400 control board on a nine year old budget dryer is not.
Two other things are worth checking before you decide. Look up your model on the manufacturer's site for open recalls, and check whether the dryer is still inside its original factory warranty, which usually runs a year from purchase.
If the repair makes sense, get it done and then think about how you want to handle the next breakdown.
How Home Warranty Dryer Coverage Applies to Future Eligible Breakdowns
Home warranty dryer coverage helps pay for eligible breakdowns caused by normal wear and tear on covered appliances. It applies to future failures, not to a dryer that is already broken when you buy the plan.
Clothes dryer coverage is part of the Enhanced Plan tier, which also adds the clothes washer and kitchen refrigerator to the covered appliance list. The Premium tier includes everything in Enhanced and layers on more. Foundational systems like heating, cooling, plumbing, and electrical sit in the Essential Plan, with appliance coverage expanding from there.
Any covered repair is subject to the plan's service call fee, coverage limits, and exclusions, all spelled out in the service contract. Damage from misuse or accidents falls outside normal wear and tear, and whole home systems coverage follows the same rules. Homeowners in Las Vegas and across Nevada can verify service area eligibility by address, and owners of condos and townhouses can ask how coverage applies to their property type.
If you are weighing the math, our breakdown of home warranty cost and what a trade call fee covers will help.
What to Do If You Already Have a Home Warranty Plan
File a claim before you call an outside repair company. Most plans require that a covered repair be diagnosed and completed by a contractor the warranty company dispatches, so hiring your own tech first can leave you paying the whole bill.
Submit the service request online or by phone at (702) 641-8888. After the service fee is paid, the claim is dispatched and the assigned provider usually calls within two to three hours to set an appointment.
Have your model and serial number ready, plus a plain description of what the dryer is doing. "Drum spins, no heat, clothes still wet" tells the tech more than "it's broken." That detail helps them bring the right parts on the first visit.
Homeowners without coverage still have options worth understanding, including whether you can buy a home warranty after closing or get coverage anytime.
Plan Ahead for the Next Dryer Breakdown
A dryer not heating up is fixable in most cases, and the fix is often cheaper and simpler than it feels in the moment. Start with the cycle setting and the lint screen, check the breaker or gas valve, then look hard at the vent. If the answer is inside the machine, hand it to an appliance repair pro.
The vent is where prevention pays off most. Clean the lint screen every load, clean the full duct run every year or two, and keep the dryer far enough from the wall that the hose is not crushed. Those habits prevent the overheating that blows thermal fuses and shortens the life of the heating element.
For the breakdowns you cannot prevent, coverage turns an unpredictable bill into a known service fee. Dwellness approves more than 97% of claims, resolves more than 85% on the first visit, and dispatches licensed, vetted local contractors so you are not searching for a repair company on a Saturday morning. Request a free quote or compare our home warranty services to see which plan fits your home. Questions? Call (702) 509-7007 or reach us through the contact page.