
You reach into the freezer for a handful of cubes on a 110 degree afternoon and find an empty bin. Maybe the dispenser hums but nothing drops. Maybe there is a single frozen lump stuck to the tray. A silent ice maker feels like the first sign of a bigger, pricier appliance problem, and nobody wants to schedule a service call over ice.
Most of the time, an LG refrigerator ice maker not working is caused by something simple you can fix yourself: the ice maker switch is off, the water line is blocked, the filter is overdue, or the freezer is running too warm. LG’s own troubleshooting guidance points to water supply problems, a switched-off ice maker, and warm freezer temperatures as the first things to check. Real part failures happen, but they are further down the list.
Keep reading for a step-by-step path through the fastest checks, water supply issues, temperature and frost problems, the reset and test cycle, and the point where an appliance technician should take over. A few of these steps carry extra weight in Las Vegas, where hard tap water shortens filter life and leaves mineral deposits behind.
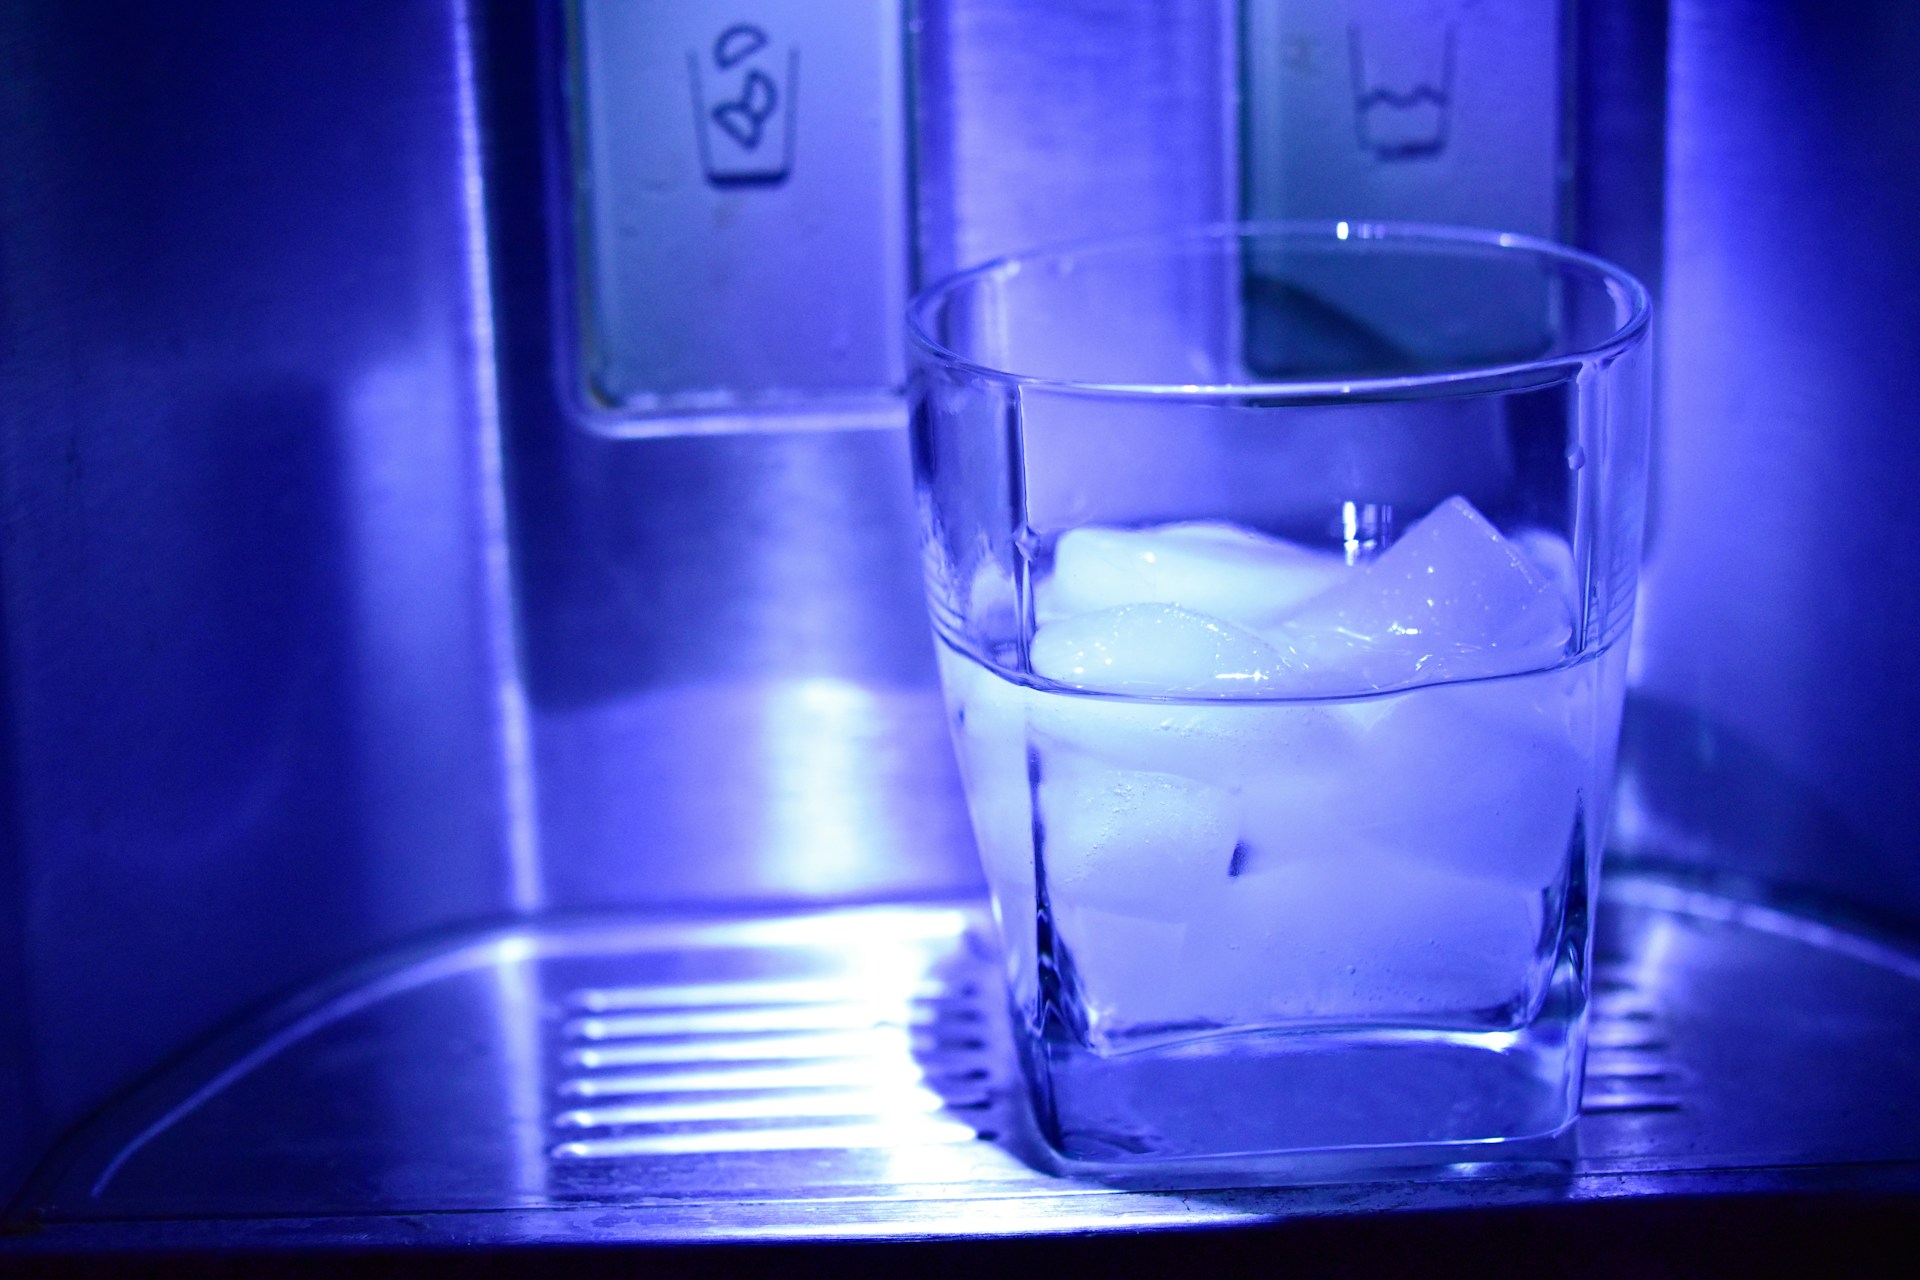
Start With the Fastest Checks
Before you touch a water line or pull the fridge away from the wall, rule out the two-minute explanations. An ice maker that is switched off, blocked by a lifted arm, or jammed with old cubes looks identical to a broken one.
Why Is My LG Refrigerator Ice Maker Not Working?
Ice production needs four things at once: power to the ice maker, water reaching the fill tube, a cold enough freezer, and a clear path for cubes to drop. Take any one away and production stops.
That is why the order of your checks matters. Homeowners often replace a water filter or call for service when the real cause was a control panel setting or a clump of ice blocking the tray.
If your refrigerator was installed in the last few days, time may be the only issue. LG notes it takes between 12 hours and two days for the first cubes, and two to three days to fill the bin, according to LG's water and ice troubleshooting guide.
Check the Ice Maker Switch, Arm, and Ice Bin
Start at the control panel. If the display is locked, press and hold the Lock button for three seconds to unlock it, then press Ice On/Off. When ICE ON is not lit, hold that button 3 to 5 seconds until it illuminates.
Some LG models use a physical on/off switch on the left side of the ice maker instead. Older designs use a wire feeler arm: if it is stuck in the raised position, the ice maker reads the bin as full and stops.
Then pull the bin out completely. Check that it is seated correctly when you slide it back, with the handle facing front. A bin that sits crooked can keep ice from dropping at all.
Clear Ice Jams Before Running a Test
Old ice clumps together. LG explains that cubes left unused shrink and stick as they sublimate, which blocks proper dispensing. Pull the bin, shake it firmly, and break up what you can.
Any clumps that will not separate should be tossed out. Wash the bin, dry it completely, and put it back. A wet bin refreezes into one solid block within hours.
While the bin is out, look at the ice maker tray itself. A single cube frozen across the ejector arms stops the whole cycle. With the jam cleared, the next question is whether water is even reaching the tray.
Restore Water Flow to the Ice Maker
No water means no ice, and water supply problems are the most common cause after a switched-off ice maker. Work from the wall to the fridge.
Inspect the Water Supply Line for Kinks or Freezing
Find the shut-off valve, usually under the kitchen sink or behind the refrigerator. The valve handle should line up with the pipe when it is open. If it sits crosswise, water is shut off.
Next, pull the refrigerator out a few feet and look at the copper or plastic line running to it. A line pinched behind the fridge after a cleaning or a floor repair restricts flow enough to stop ice production.
A frozen supply line is less common in Las Vegas kitchens, but it happens inside the freezer at the fill tube. If you see a plug of ice in the small tube above the ice tray, that section is covered below.
Replace a Clogged Water Filter
If you cannot remember replacing the filter, that is your answer. A clogged filter slows water to a trickle, and the ice maker either makes hollow cubes or none at all.
Las Vegas tap water is hard, which matters here. LG warns that water carrying large amounts of substances like limestone clogs filters faster and shortens their useful life. Homes on Colorado River water see the same mineral load.
Swap the filter, then run several gallons through the dispenser to purge air. Air trapped in the line after a filter change causes sputtering and skipped fill cycles for the first day.
Check for Low Water Pressure and a Failed Inlet Valve
LG lists a guaranteed operating range of 1.5 to 8.5 kgf/cm² of water pressure, with weak flow below the 1.5 minimum. Below that, the valve may open without delivering enough water to fill the tray.
A quick pressure test: hold a measuring cup under the water dispenser for 10 seconds. If you get noticeably less than a cup, flow is weak somewhere between the house valve and the fridge.
The water inlet valve, a solenoid valve at the back of the refrigerator, opens on a signal from the control board. When it fails, the dispenser and the ice maker both go dry. That repair involves shutting off water and removing a rear panel, which puts it in technician territory.
Water reaching the tray still will not freeze if the freezer is not cold enough, so temperature comes next.
Set the Right Freezer Temperature and Clear Frost
A freezer running even a few degrees warm slows ice production to a crawl or stops it. This is one of the easiest fixes and one of the most overlooked.
How Cold Should the Freezer Compartment Be?
LG states the freezer must hold an internal temperature below 19°F, and recommends -4°F (-20°C) as the minimum for ice production. Set warmer than that, and cubes form slowly or not at all.
Check the setting on the display, then give it 24 hours before you judge the results. A freezer that has been opened repeatedly or recently loaded with warm food needs time to recover.
Two habits push freezer temperature up: leaving the door ajar and packing the compartment so full that air cannot circulate. LG specifically flags heat and moist air entering the freezer as a cause of melting and clumping ice.
Remove Ice Buildup Around the Fill Tube and Sensors
Look at the small plastic or metal fill tube that drips water into the ice tray. A frozen plug there is common after a slow leak or a door left open, and it stops every cycle.
Thaw it carefully. Unplug the refrigerator, then hold a hair dryer on low several inches away, or press a warm damp cloth against the tube. Never use a screwdriver or an ice pick near the tube or the tray.
Frost also builds on the optical sensors that tell the ice maker when the bin is full. Wipe those clear with a dry cloth. A frosted sensor reads a full bin and shuts production down.
Check the Ice Maker Fan and Air Vents
Many LG French door models use a small fan to push cold air into the ice maker compartment in the door. If that compartment feels warmer than the freezer, airflow is the problem.
Pull the bin and listen. A fan that is silent, grinding, or buzzing points to a failed motor or an obstruction. Check the vents inside the freezer too, since boxes pushed against them starve the ice compartment of cold air.
With temperature and airflow confirmed, a reset tells you whether the ice maker's own electronics still work.
Reset and Test Your LG Ice Maker
A reset clears the control logic and forces a fresh cycle. LG's official reset is straightforward and worth doing before any part gets replaced.
Find the Ice Maker Reset or Test Button
LG's reset steps are simple: remove the bin, grasp the ice maker and shake it up and down a few times firmly but gently, replace the bin, then cut power for 30 seconds at the plug or breaker. Restore power and wait.
Give it 4 to 6 hours. LG states that if the unit still is not producing or harvesting ice after that window, it needs repair service.
Many models also have a test button. On trays with a power switch, the test button sits underneath, below the tray. On models without a tray, you press the button through a small hole using a paper clip. Hold it about three seconds until the arms turn.
Lay a towel under the ice maker first. The tray holds roughly four or five ounces of water, and it may spill during the test.
Use the LG ThinQ App When Your Model Supports It
Wi-Fi enabled LG refrigerators connect to the LG ThinQ app, which runs a remote diagnosis and reports error codes from the appliance. That saves guesswork on models with a display that shows little.
The app also lets you confirm settings you may have changed by accident, including the ice maker on/off state and the freezer temperature. On Craft Ice models, it shows whether the feature is set to 3 ICE or 6 ICE mode.
If the app reports an error code, write it down. A technician arriving with the code already in hand usually diagnoses faster.
What a Failed Test Cycle Can Tell You
The test cycle answers two questions: did the motor run, and was there water or ice in the tray? LG states that if either answer is no, the refrigerator most likely needs service.
A motor that does not turn points to the ice maker module, its motor, or a wiring problem at the harness. A motor that turns with a dry tray points back to water supply, the inlet valve, or the fill tube.
One timing note from LG: for the first two hours after the refrigerator is plugged in, some models allow only one test run. Unplug for about 30 seconds to reset if you need a second attempt.
When the test fails and you have already ruled out water, temperature, and jams, the remaining causes sit behind panels.
When an Appliance Technician Should Handle the Repair
Once a reset and a test cycle both fail, the problem is a part, not a setting. That is the point to stop and call a qualified appliance technician.
Signs of a Mechanical Failure or Electrical Problem
Some symptoms should send you straight to a professional:
- Grinding, clicking, or buzzing from the ice maker that continues after you clear all ice
- Water pooling inside the freezer or leaking onto the floor
- A dispenser that does nothing at all, with no motor sound
- Repeated error codes on the display or in the app
- Any burnt smell or scorched wiring near the refrigerator
Loose or corroded connections at the wire harness behind the ice maker are a frequent culprit on older units. So is a failed main control board, which can cut the signal to the ice maker while the rest of the refrigerator runs fine.
These checks require pulling panels and testing components with a meter. That is work for someone licensed and insured.
Why the Auger Motor May Stop Ice From Dispensing
If your LG fridge is making ice but nothing comes out of the door, look at the auger. The auger is the corkscrew inside the ice bin that pushes cubes toward the chute when you press the lever.
The auger motor drives it. When that motor fails, or when the coupling between the motor and the auger strips, the bin fills with ice while the dispenser stays silent. You may hear a click and nothing more.
A frozen chute produces the same symptom, so clear that first. Persistent silence after the chute is clear means the motor or its drive assembly needs replacement, which involves removing the bin assembly and door components.
How Ice Maker Repair Coverage Through a Home Warranty Works
A home warranty plan that includes kitchen refrigerator coverage helps with eligible breakdowns caused by normal wear and tear. Ice maker components fall under that refrigerator coverage on plans that include it.
Coverage applies subject to your plan's service call fee, coverage limits, and exclusions, all spelled out in your service contract. Damage from misuse or outside events falls outside normal wear and tear.
Kitchen refrigerator coverage is part of the Enhanced and Premium tiers, which build on everything in the Essential Plan coverage list. You can compare what each tier includes across the three home warranty plans.
Get Help With Future Covered Breakdowns
If you already hold a plan that includes refrigerator coverage, file a claim instead of searching for a contractor yourself. You can submit a service request online any hour of the day or call (702) 641-8888.
After the service fee is paid, the claim goes to a vetted local provider who contacts you within two to three hours to schedule. Adding coverage now protects you against future breakdowns, not an ice maker that has already quit.
If you do not have coverage yet, the value shows up the next time an appliance fails without warning.
Protect Your Home From the Next Appliance Breakdown
Most ice maker failures come down to five things: the switch position, a jam in the bin, a clogged filter, a warm freezer, or a blocked water line. Work through them in that order and you will solve the majority of cases in an afternoon, no tools required.
When a reset and a test cycle both fail, you are looking at a part failure, and that bill arrives without notice. Las Vegas homes put steady demand on appliances and systems year-round, and one surprise repair has a way of turning into two. A plan that covers eligible breakdowns from normal wear and tear turns that surprise into a predictable service fee.
Dwellness has served Las Vegas homeowners since 1986, approves 97% of claims, and resolves more than 85% of them on the first visit. Every customer gets a local account manager, not a national call queue. Compare coverage for home appliances and home systems, or call (702) 509-7007 for a free quote and find out exactly what a plan would cover before the next thing breaks.