
Your sump pump is one of those home systems you hope you never have to think about. But when heavy rain, groundwater, or plumbing issues threaten your basement or crawl space, it’s one of the most important pieces of equipment in your home. Regular sump pump maintenance helps ensure the pump is ready when you need it most and can help reduce the risk of costly water damage.
Use this sump pump maintenance checklist to keep your system in good working condition throughout the year.
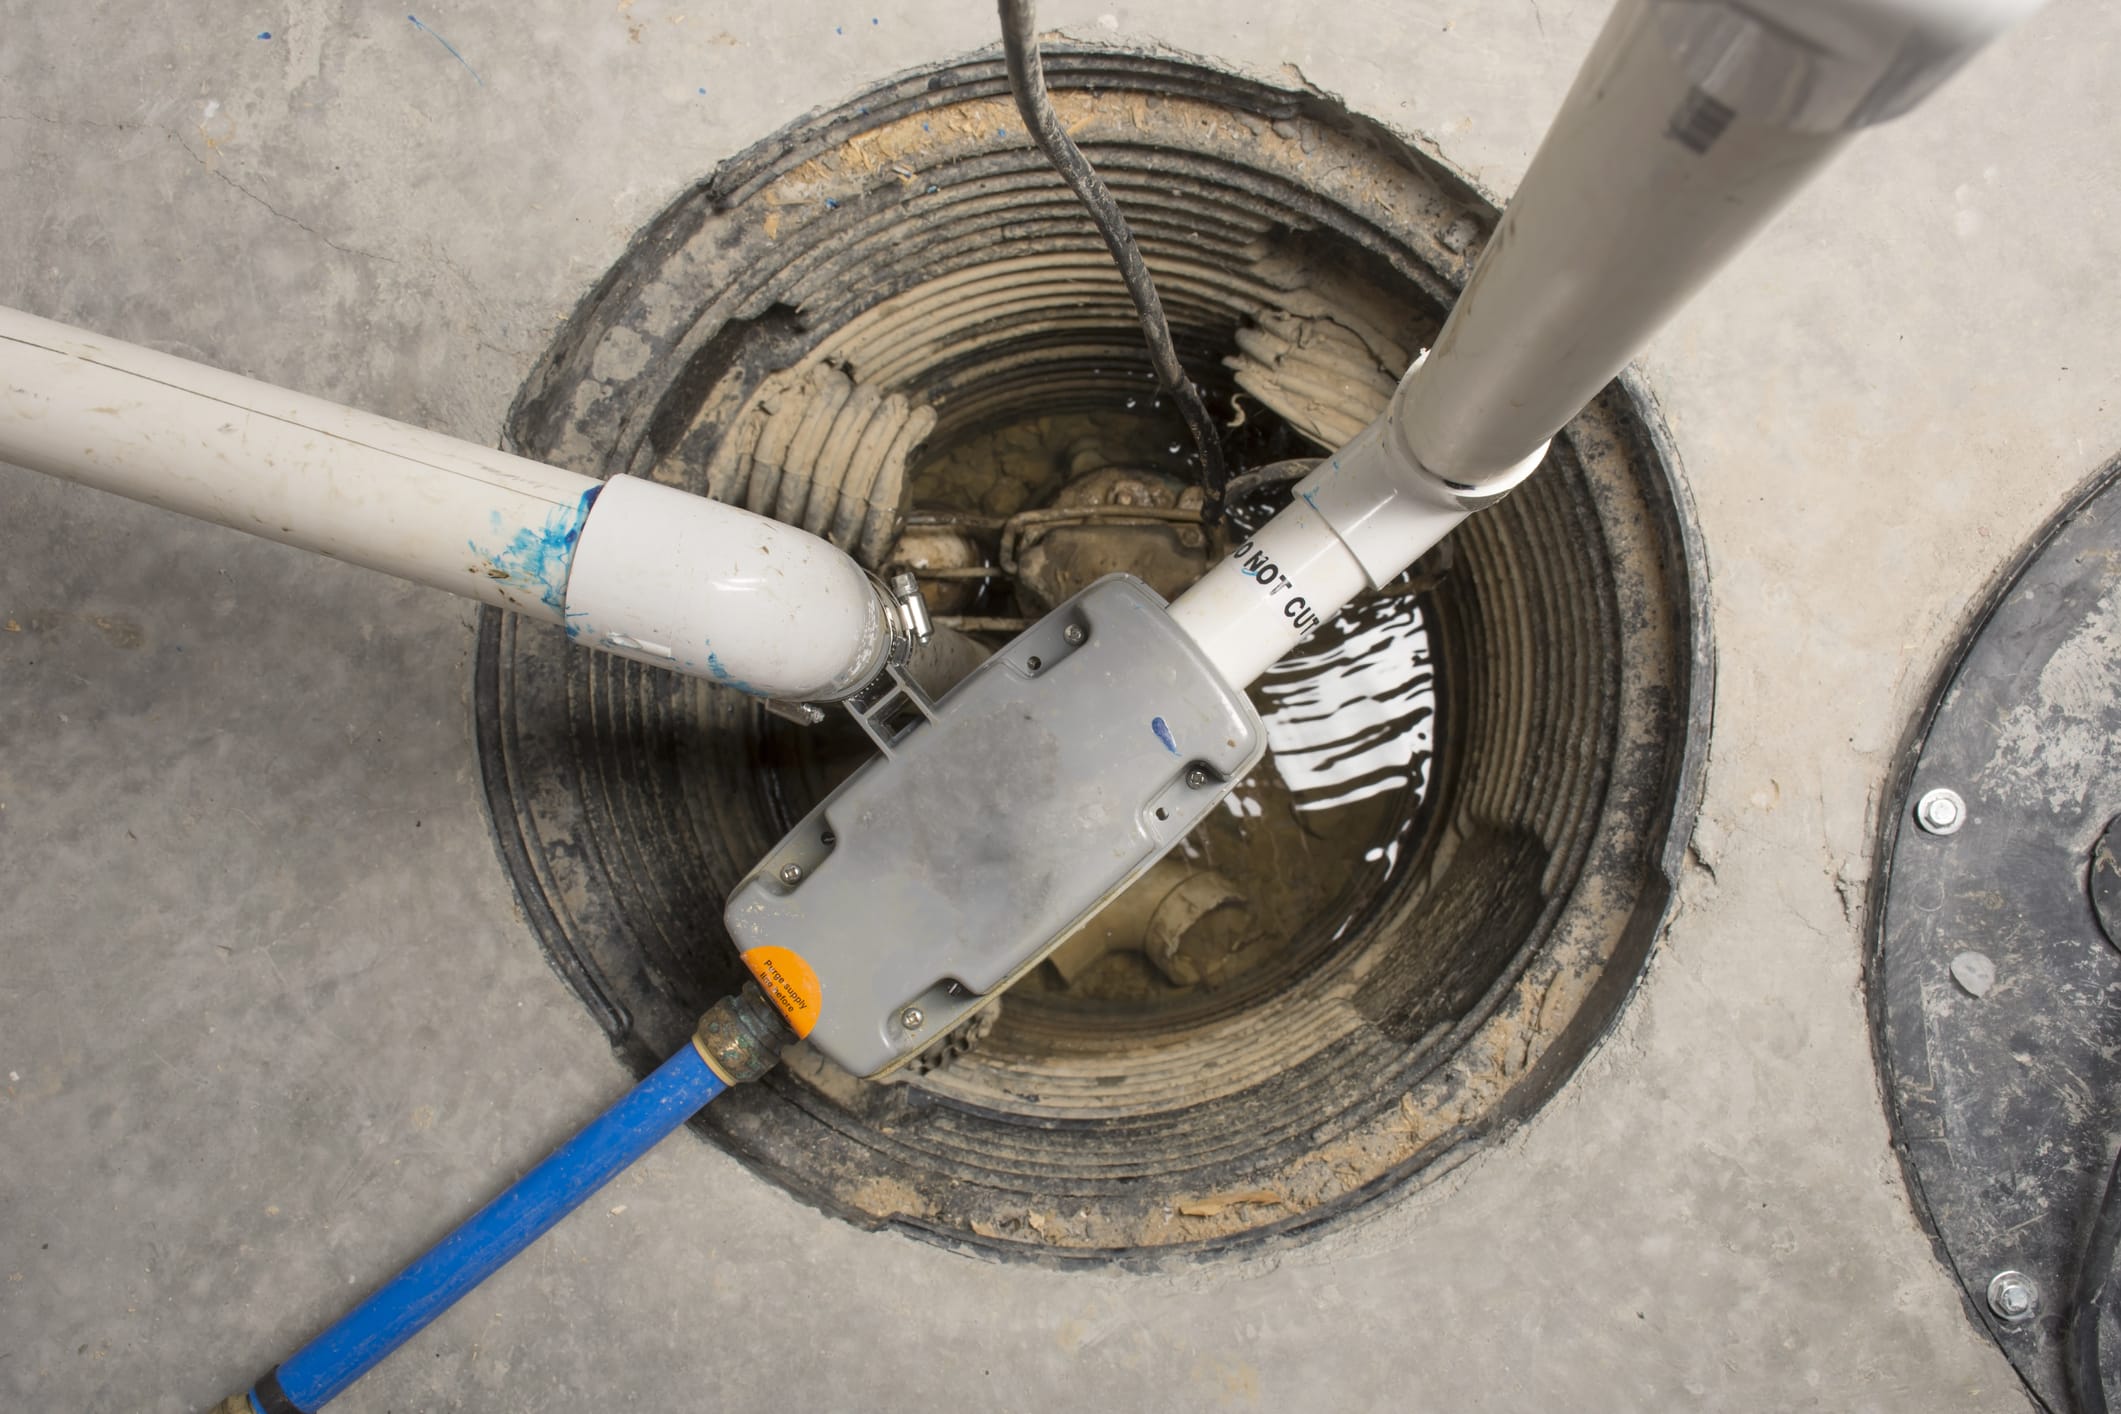
Sump Pump Maintenance Checklist
Before diving into each maintenance task, here's a quick checklist you can use during your routine inspections:
- Inspect the sump pump for visible damage.
- Clean the sump pit and remove debris.
- Test the float switch.
- Verify the pump turns on and off properly.
- Check the discharge pipe for clogs or damage.
- Inspect the check valve.
- Confirm the power source is working.
- Test the backup battery (if applicable).
- Listen for unusual noises or vibrations.
- Schedule professional service if you notice problems.
Completing these steps a few times each year can help identify small issues before they become larger repairs.
1. Inspect the Sump Pump for Visible Damage
Begin every maintenance session with a simple visual inspection.
Look for signs of rust, corrosion, loose fittings, cracked components, or water leaking around the pump. While minor surface discoloration isn't always a concern, obvious damage may indicate that the pump is nearing the end of its service life.
A quick inspection only takes a few minutes and can reveal issues before they affect performance.
2. Clean the Sump Pit
Debris naturally collects inside the sump basin over time.
Dirt, gravel, leaves, and other materials can interfere with the pump's operation or clog the intake screen. Removing loose debris from the pit helps ensure water can flow freely into the pump when it's needed.
Always disconnect power before cleaning around the pump.
3. Test the Float Switch
The float switch tells the sump pump when to turn on.
Pouring a bucket of water into the sump pit is one of the easiest ways to test it. As the water level rises, the float should activate the pump automatically. Once the water has been removed, the pump should shut off on its own.
If the float sticks or the pump doesn't activate, further inspection is recommended.
4. Verify the Pump Cycles Properly
A properly functioning sump pump should start, remove water efficiently, and then shut off once the pit is empty.
If the pump runs continuously, turns on and off rapidly, or fails to remove water effectively, there may be an issue with the float switch, discharge line, or motor. Addressing these problems early can help prevent pump failure during heavy rainfall.
Consistent operation is a good sign that your system is functioning correctly.
5. Inspect the Discharge Pipe
Even a perfectly functioning sump pump can't protect your home if water can't exit properly.
Walk outside and inspect the discharge pipe to ensure it's free from obstructions, debris, ice, or damage. Water should discharge well away from your home's foundation to reduce the chance of it flowing back into the sump pit.
Keeping the discharge line clear is just as important as maintaining the pump itself.
6. Check the Check Valve
The check valve prevents discharged water from flowing back into the sump pit.
If this valve fails, the pump may repeatedly cycle the same water, increasing wear on the motor and reducing efficiency. During your inspection, make sure the valve is securely attached and appears to be functioning properly.
Replacing a worn check valve is generally much less expensive than replacing an overworked pump.
7. Confirm the Power Supply
Your sump pump can't protect your home without electricity.
Inspect the power cord for damage and verify the unit is plugged securely into a functioning outlet. Avoid using extension cords whenever possible, as manufacturers typically recommend connecting the pump directly to a dedicated outlet.
If your pump uses a ground fault circuit interrupter (GFCI), confirm it hasn't been tripped.
8. Test the Backup Battery
If your sump pump includes a battery backup system, regular testing is essential.
Power outages often occur during severe storms, which is exactly when your sump pump may be needed most. Test the battery according to the manufacturer's instructions and replace it when it no longer holds an adequate charge.
A backup battery provides valuable protection when your primary power source becomes unavailable.
9. Listen for Unusual Sounds
A healthy sump pump should operate smoothly without excessive noise.
Grinding, rattling, humming, or loud vibration may indicate worn bearings, loose components, or debris inside the pump. These sounds often develop gradually, making routine maintenance an ideal time to catch them before they become more serious.
If unusual noises persist after cleaning the unit, professional service may be needed.
10. Know When It's Time to Replace the Pump
Even with excellent maintenance, sump pumps don't last forever.
Most sump pumps have an average lifespan of about 7 to 10 years, although actual longevity depends on usage, maintenance, and the quality of the equipment. Older pumps that experience frequent cycling, repeated repairs, or declining performance may be approaching replacement.
Planning ahead can help you avoid an unexpected failure during severe weather.
How Often Should You Perform Sump Pump Maintenance?
Most homeowners should inspect and test their sump pump at least every three to four months.
It's also a good idea to perform a thorough inspection before seasons that typically bring heavier rainfall. Homes with frequent groundwater issues or finished basements may benefit from more frequent maintenance throughout the year.
Staying on a regular schedule helps ensure the pump remains ready when you need it.
When to Call a Professional
Many basic maintenance tasks are simple enough for homeowners to perform themselves, but not every issue should become a DIY project.
If the sump pump won't turn on, repeatedly trips breakers, runs continuously, leaks excessively, or fails to remove water despite basic troubleshooting, it's time to contact a professional. A qualified technician can diagnose electrical problems, replace worn components, and determine whether repair or replacement is the best option.
Seeking help early can often prevent more extensive water damage later.
Key Takeaways
- Inspect your sump pump several times each year.
- Clean the sump pit and remove debris regularly.
- Test the float switch by adding water to the basin.
- Inspect the discharge pipe and check valve for proper operation.
- Verify the pump has a reliable power source.
- Test the backup battery if your system includes one.
- Most sump pumps last approximately 7 to 10 years with proper maintenance.
- Schedule professional service if you notice unusual noises, poor performance, or electrical problems.
Frequently Asked Questions
Protect Your Las Vegas Home with Dwellness
Routine sump pump maintenance is one of the best ways to help protect your home from unexpected water damage. Even with regular inspections and proper care, however, mechanical components can eventually wear out and require repair or replacement.
Dwellness helps Las Vegas homeowners protect eligible home systems with dependable home warranty coverage designed for everyday wear and tear. Contact Dwellness today to learn more about our home warranty plans and discover how we can help you prepare for unexpected repairs with greater confidence and peace of mind.